Save The Pumpkins Free Craft Pattern
Note: This item is not shipped
By Jim Cargo
I don't particularly care for pumpkin carving. It's just too darn messy. Sure you can try to roasting the seeds and making a pie, but at the end of the day you end up with a "one-and-done" decoration. Toss in the fact that in colder climates these darn things are apt to rot on your front step before Ole Hallows Eve even gets here.
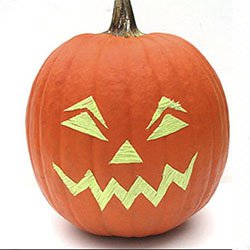
What if you can "SAVE" that pumpkin from such invasive carving procedures and use it for both Halloween and Thanksgiving without the colossal mess? Now you have my attention. The following project needs only a few simple items to let you save your pumpkin from unnecessary invasive carving procedures. Oh, and my Jack is waterproof!
You will need:
- A computer to print out a template from the web
- Pen or Magic Marker
- Scissors
- One, 10m spool of Kreinik 1/8" Ribbon in color #054F
- 1-inch roll of heavy duty double-sided tape (available from craft stores)
- Black-light bulb
- Medium size pumpkin
Directions:
- Bring your pumpkin inside. We want it at room temperature and dry.
- Start off by finding a template you want to use. There are tons of free templates out there. All you have to do is put pumpkin template into any search engine and away you go. Once you have found the template you would like to use, save it to your computer and print out two copies. The second copy will serve as a reminder how your template looked before cutting it.

- Take your print out and see how well the template will fit on your pumpkin. In some instances, you might have to reduce the size of the image so it will fit better. You can do that using programs such as Microsoft Word.
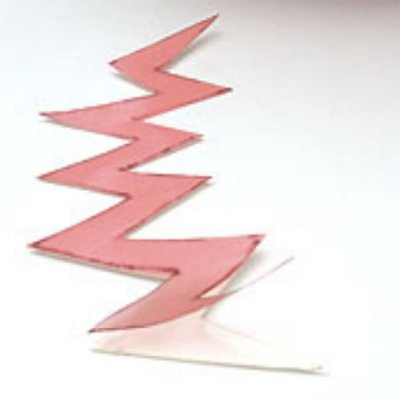
- Now, take one of your copies and cut out the components of your pumpkins face. Lay pieces of tape down and lay the template pieces you just cut out on top of it. Use your pen or marker to trace the outline of the template onto the tape.
- Once you have traced all of the pieces onto the tape, use your scissors to cut out the pieces that will go on your pumpkin.
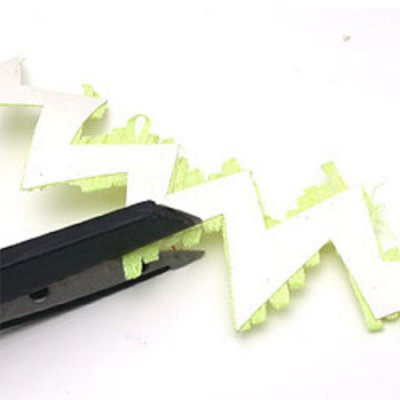
- Take the piece of tape that will be the mouth piece you just cut out and using the blade of
your scissors, gently peel the red liner off. This will expose the sticky tape.

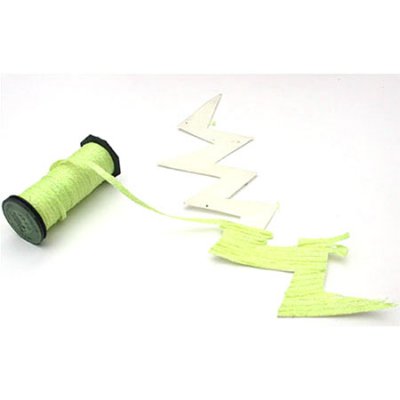
- Attach the 1/8" Ribbon at one of the corners of the mouth piece and press the 1/8" Ribbon in place so that it will extend just beyond the edge of the tapped piece. Using a zig-zag pattern, continue pressing the ribbon into place so that each piece of ribbon is butted against the previous piece to "fill" in the tape.
- Once you have covered all of the tape with the ribbon, use your scissors to trim away any ribbon that has extended beyond the tape for a nice clean look.
- Continue with the eyes and nose using steps 7 & 8.

 Once all of your pieces have been cut, its time to
adhere them to your pumpkin. Starting with the
mouth piece, turn the piece over to remove the white
paper backing. At one of the corners, use the blade of
your scissors and pry the white paper backing to
expose the sticky side. Place the piece on your
pumpkin by pressing them in place using your
fingers. Continue with the remaining face pieces until
you are done.
Once all of your pieces have been cut, its time to
adhere them to your pumpkin. Starting with the
mouth piece, turn the piece over to remove the white
paper backing. At one of the corners, use the blade of
your scissors and pry the white paper backing to
expose the sticky side. Place the piece on your
pumpkin by pressing them in place using your
fingers. Continue with the remaining face pieces until
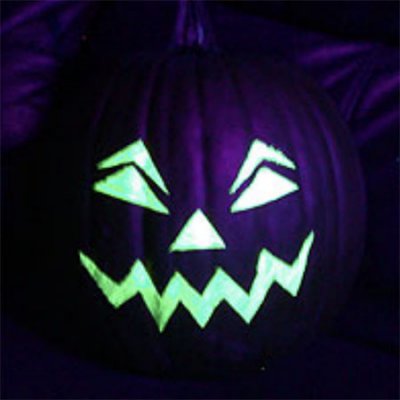
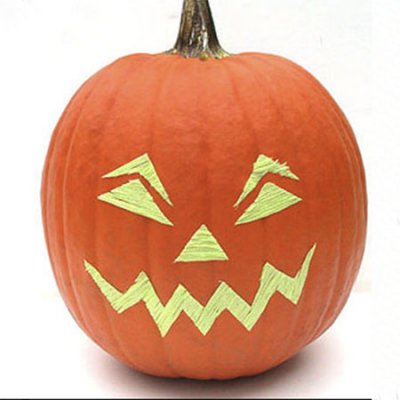
you are done.- Here is the fun part. Place your pumpkin where your blacklight bulb will shine on it and see your creation glow. You can use a blacklight bulb for a lamp or you can find them for your flood lights as well.
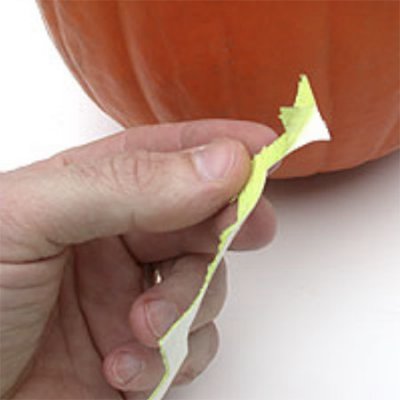
- It's now November 1 and Halloween is over. Less than 30 days until Thanksgiving. Take that decorated pumpkin and get it ready for Thanksgiving. Using your fingernail, or scissor blade, gently scrape the edge of the tape to pull it up. The pieces should pull off easily and you'll have a perfect pumpkin to use for Thanksgiving decor or anything else you would want to do with it.
Would this product be useful in your business (ie, manufacturing, teaching, retail)? If so, you could benefit from bulk quantities at wholesale pricing. To open a wholesale account, we require a copy of your business license on file. Send a copy along with your business name and contact info to:
- Rainbow Gallery (owner of Kreinik threads), 2860 North Ontario Street, Burbank CA 91504 USA
- Rainbow Gallery phone 747-283-2006
- Email info@kreinik.com


