Cross Stitch
Where to use it:
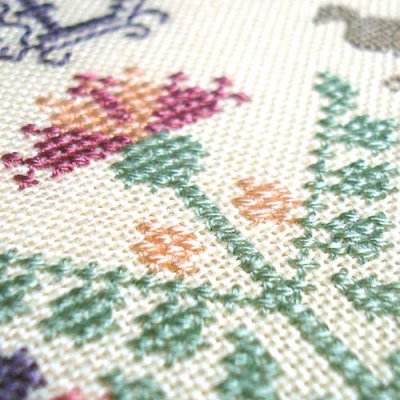
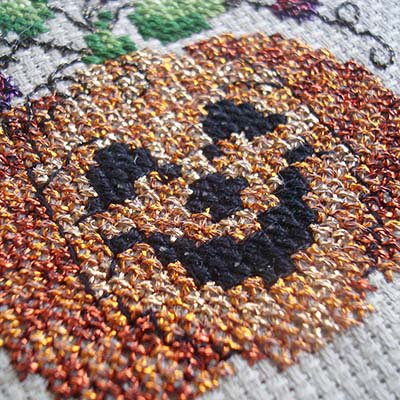
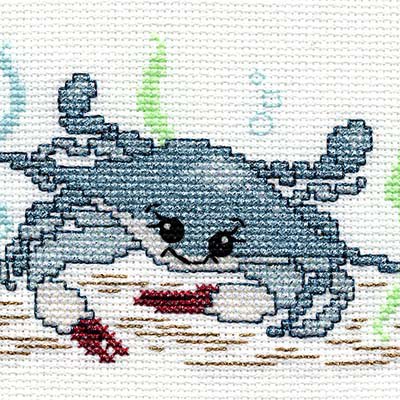
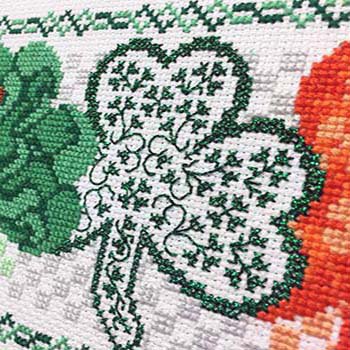
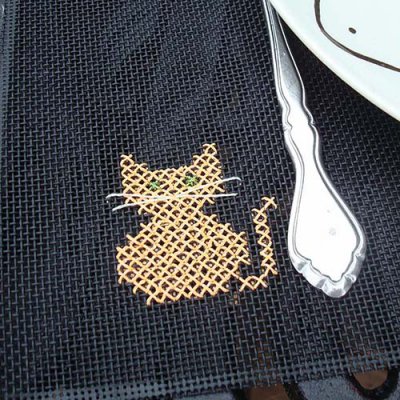
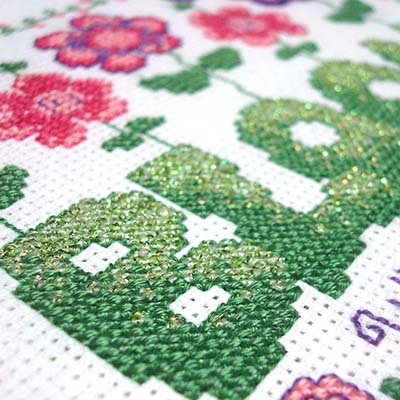
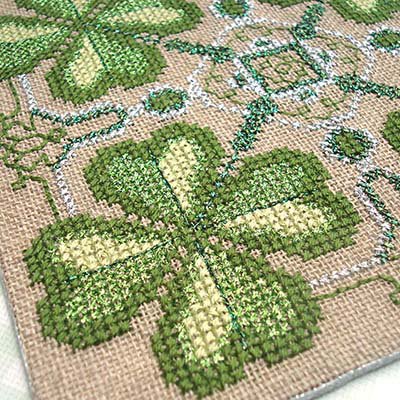
- to embellish fabric, linen, clothing, church garments, etc with an "x" shaped stitch
- in samplers
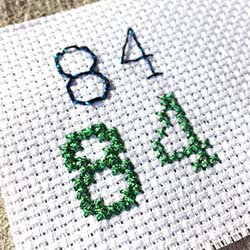
- for borders to build letters such as block letters
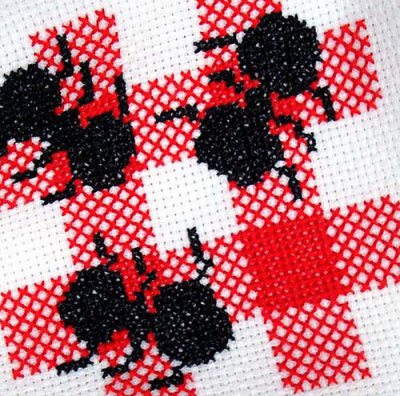
- to create landscapes and shapes
What to use:
- Kreinik Blending Filament - combine in the same needle with one or two strands of cotton floss for a random metallic effect
- Kreinik Very Fine #4 Braid - use as it comes, straight off the reel, to cross stitch on 16- or 18-count fabric
- Kreinik Fine #8 Braid - use it as it comes, straight off the reel, to cross stitch on 14-count fabric
- Kreinik Silk Mori - use two strands to cross stitch on 14-count fabric, use one strand to cross stitch on 18-count fabric. For detailed info on which braid to use on larger counts of fabric, visit the metallic thread selection guide in our Education section.
How to do it:
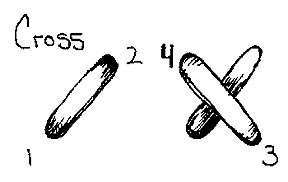
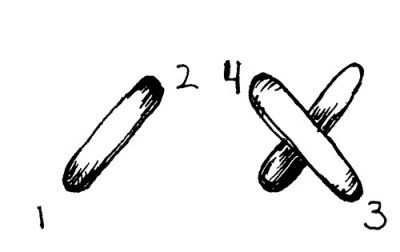
Follow the diagram for needle and stitch placement. Come up at 1, down at 2, up at 3, down at 4, etc. The top stitch should always cross in the same direction throughout your stitchery.
Some stitchers complete each "x" individually. Others prefer to work in rows, stitching one row of the first half-cross, then completing the top stitch on a return trip down the row. Often the size of the design, the amount of color you are using, etc determines which method to use. Once you get started, enjoy the rhythm of this fun stitch and watch the pictures come to life on your fabric.
If using two or more strands of thread, place each stitch so that the strands are laid parallel to each other. This gives you maximum light reflection and neatness.
